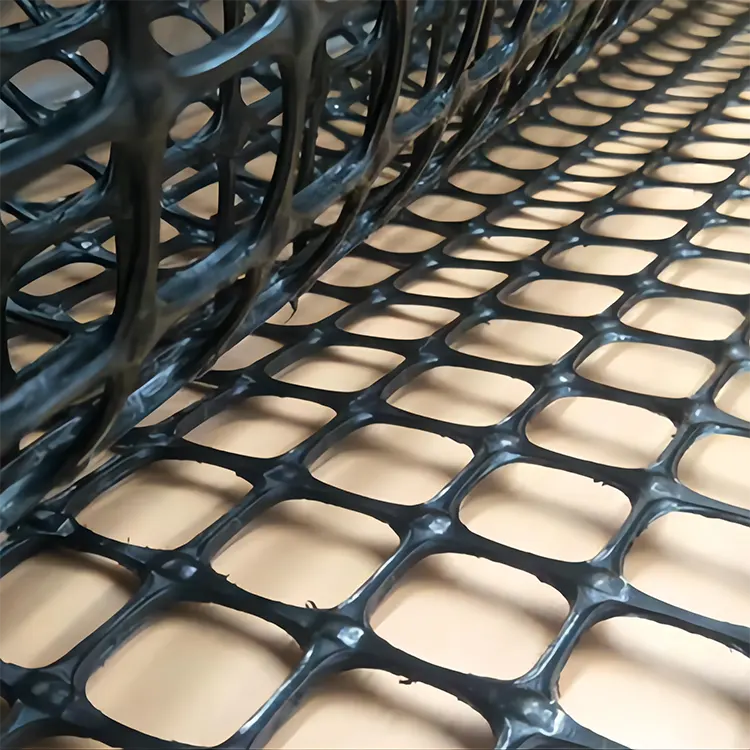
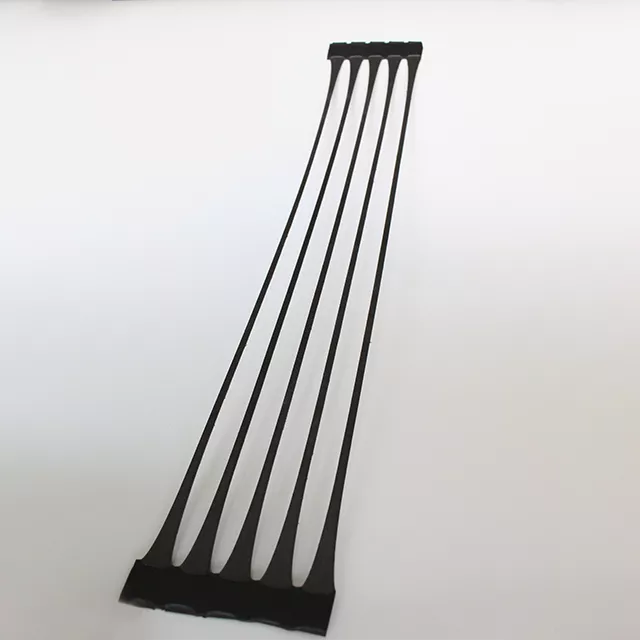
Brief analysis of the construction steps and related issues of parking space grass grid
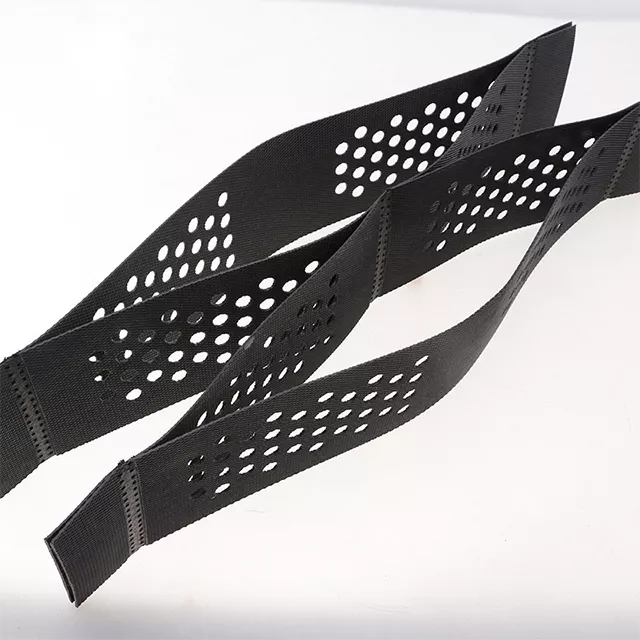
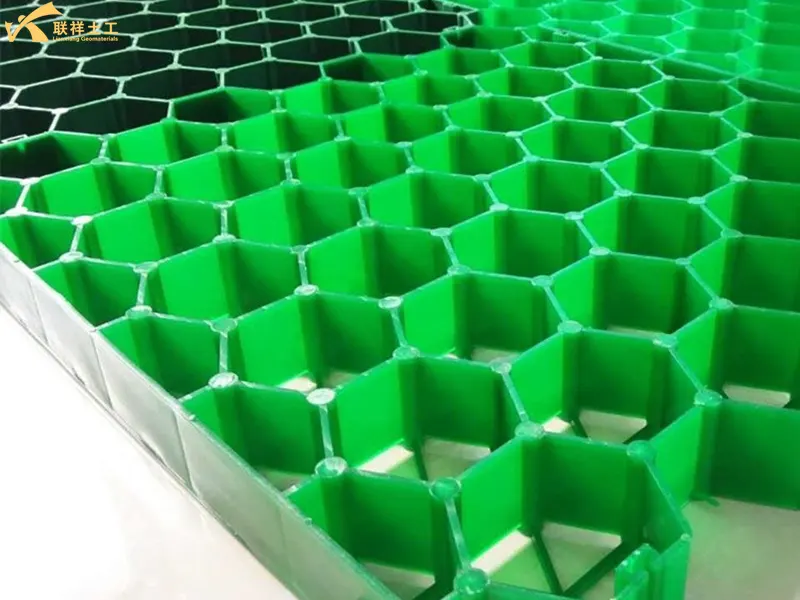
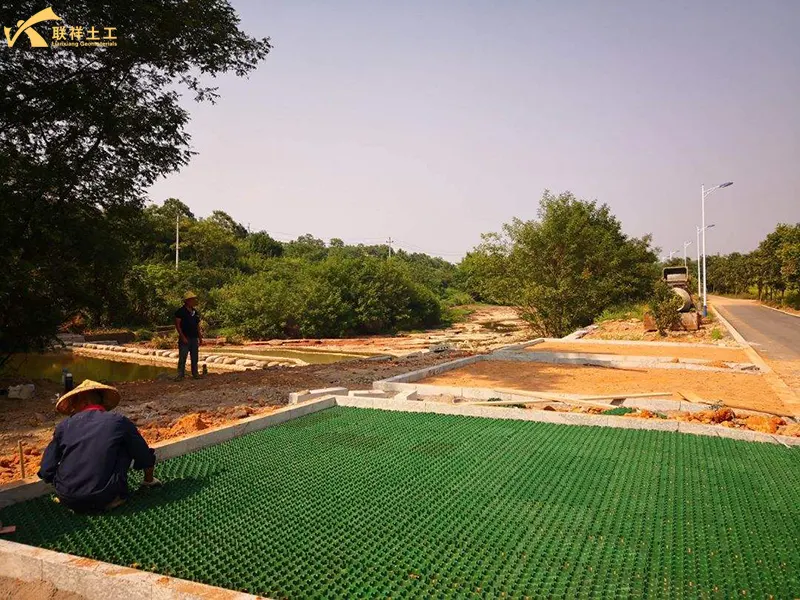
Parking grass grids (also known as grass bricks or ecological grass grids) are a paving material that combines both parking functionality and ecological greening. They are suitable for use in open-air parking lots, residential parking spaces, fire lanes, and other locations. The key to their construction is ensuring the foundation's load-bearing capacity, smooth drainage, and viable grass. The specific steps can be divided into five phases: pre-construction preparation → foundation construction → grass grid installation → backfilling and grass planting → post-maintenance maintenance. The following is a detailed breakdown:
1. Pre-construction Preparation: Clarify Requirements and Gather Materials
Before construction, confirm site conditions and material specifications to avoid rework later.
1.1. Site Survey and Planning
- Determine load requirements: Select grass grid specifications based on the type of vehicle to be parked (for family cars, choose "light grass grids" with a thickness of 50-70mm; for trucks/fire trucks, choose "heavy grass grids" with a thickness of 80-120mm).
- Surveying and Layout: Use a total station or tape measure to mark parking space boundaries, driveways, and drainage directions, ensuring a 1%-2% drainage slope (to prevent waterlogging that could soak the foundation and grass seedlings).
- Underground Pipeline Inspection: Verify the presence of water pipes, electrical cables, and gas pipelines within the site. If present, mark the areas to avoid them and prohibit crushing or damaging them.
1.2. Material and Tool Preparation
| Category | Specific Materials/Tools | Functional Description |
| Core Materials | Grass Grid (PP/PE, one-shot injection molding) | Bears vehicle weight and leaves space for grass planting |
| Base Materials | Plain soil, graded gravel (20-30mm), sand | Construct the load-bearing foundation in layers, taking into account drainage and leveling |
| Planting Materials | Planting Soil (garden soil + river sand + organic fertilizer = 6:3:1), Grass Seed | Provides nutrients for grass seedling growth. Choose trampling-resistant and drought-tolerant varieties (such as Manila grass, Bermuda grass, and Zoysia grass) |
| Supplementary Materials | Concrete (C20), angle steel (50×50mm), geotextile | Secures the edges of the grass grid and prevents soil erosion (geotextile is laid under the gravel layer) |
| Tools | Excavator, roller (small, deadweight ≤5t), tape measure, rubber hammer, shovel | Site cleaning, foundation compaction, grass grid adjustment |
2. Foundation Construction: The Core of Load-Bearing and Drainage (Critical Step)
The foundation layer determines the lifespan of the grass grid and must be constructed and compacted layer by layer to prevent subsequent settlement.
2.1. Site Cleaning and Soil Compaction (Layer 1: Load-Bearing Base)
- Site Cleaning: Remove weeds, rocks, and construction debris from the site. Any soft soil (such as silt) must be completely excavated and replaced with high-quality soil (moisture content controlled at 18%-22%, ideally firm enough to hold together by hand).
- Soil Compaction: Use a small roller (or frog-type rammer) to compact the soil layer by layer, with each layer ≤30cm thick and achieving a compaction level of at least 95% (this can be tested using the ring knife method: dry density after compaction ≥1.6g/cm³).
- Leveling and Slope: After compaction, establish a 1%-2% drainage slope based on the layout markings to ensure rainwater flows to designated drainage outlets (e.g., rainwater wells and drainage ditches).
2.2. Gravel Base Layer Laying (Second Layer: Drainage + Secondary Load-Bearing)
- Geotextile Laying: Lay a layer of permeable geotextile (200g/m2 or higher) on the compacted soil layer to prevent soil particles from seeping into the gravel layer and blocking the drainage channels.
- Gravel Laying: Lay graded gravel (particle size 20-30mm, mud content ≤5%). Adjust the thickness based on the load:Light-duty parking spaces (family cars) Gravel thickness 15-20cm, Heavy-duty parking spaces (trucks/fire trucks) Gravel thickness 20-25cm.
- Gravel Compaction: Use a roller to slowly roll the gravel 2-3 times to a compaction level of ≥90%, ensuring a smooth, flat gravel layer with no noticeable depressions. Also, maintain gaps between the gravel to facilitate drainage.
2.3. Sand Leveling Layer (Third Layer: Facilitates Grass Grid Installation)
- Lay clean, medium-coarse sand (particle size 0.5-2mm) to a thickness of 5-8cm. Scrape the sand with a scraper to ensure a surface flatness tolerance of ≤5mm (to prevent tilting of the grass grid after installation).
3. Grass Grid Laying: Precise Joints + Secure Edges
Grass grids should be laid "from edge to center, aligned joints" to ensure overall stability.
3.1. Trial Laying and Adjustment
- First, lay one or two grass grids at the edge of the site (e.g., parking space boundaries, curbs) to confirm the correct drainage slope. If any deviation is detected, adjust the sand leveling layer immediately.
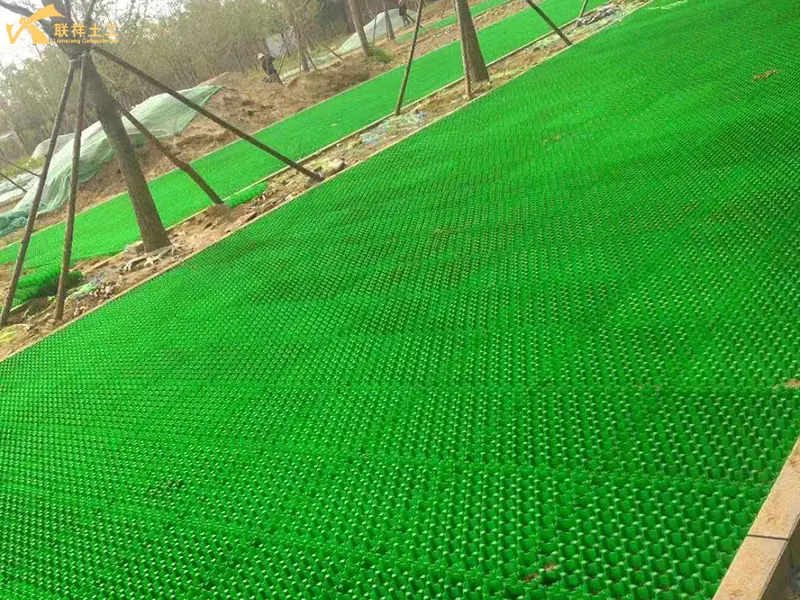
- The grass grids should have their "convex points" facing upward (to support vehicle weight) and their "grooves" facing downward (to connect to the sand layer and facilitate drainage). Do not lay them in reverse.
3.2. Jointing and Gap Management
- Lay the grass grids one by one from the edge toward the center. The joints between adjacent grass grids must be aligned, and the gap width should be controlled to 2-3mm (to prevent deformation due to thermal expansion and contraction).
- If the site has a curvature (such as a circular parking space), cut the grass grids to the curve (using an angle grinder, ensuring the cut surface is smooth). Fill the gaps with sand to prevent soil leakage.
3.3. Edge Securing (Preventing Shifting)
- Along the perimeter of the parking space (especially at the junction of the driveway and parking space, and at the curb), cast a 10-15cm wide edge band with C20 concrete (level with the top surface of the grass grid), or secure with 50×50mm angle steel (anchor the bottom of the angle steel into the gravel layer with expansion screws).
- If the grass grid is laid over a large area (over 100 square meters), an expansion joint (10mm wide and filled with elastic strips) must be installed for every 10m x 10m area to prevent overall bulging caused by temperature fluctuations.
4. Filling and Planting: Ensuring Grass Seedling Survival
After the grass grid is laid, it needs to be filled with planting soil and sown to provide growth conditions for the grass seedlings.
4.1. Filling with Planting Soil
- Fill the "raised gaps" of the grass grid with a well-proportioned planting soil (garden soil, river sand, and organic fertilizer). The filling height should be 1-2cm below the top surface of the grid to prevent soil from overflowing during watering and to prevent soil compaction due to vehicle movement.
- After filling, gently vibrate the grid 1-2 times with a small flat vibrator (or pat with the back of a shovel) to compact the planting soil and reduce subsequent settlement.
4.2. Sowing Grass Seed (or Laying Sod)
- Sowing Method: Choose a sunny day and mix grass seed with fine sand in a ratio of 1:5 (for even spreading). Adjust the sowing amount according to the type of grass seed (e.g., 15-20g per square meter for Bermudagrass, 20-25g per square meter for Manilagra).
- Covering and Watering: After sowing, cover with a thin layer of sand (0.5-1cm thick). Water with a sprayer (use a gentle flow to avoid dispersing the seeds). Keep the planting soil moist (60%-70% moisture content, ideally enough for a small amount of water to seep out when squeezed).
- Alternative (Laying Sod): For faster lawn development, lay sod with soil (cut into small pieces that fit the spacing between the grass grids). Keep the top surface of the sod flush with the top surface of the grass grids. Water and compact the soil immediately after laying.
5. Post-cultivation Maintenance: Ensuring Stability of Grass Grids and Seedlings
The maintenance period (the first three months) is crucial for the rooting of the seedlings and the stability of the grids. Pay special attention to watering, pruning, and load control.
5.1. Watering Management
- 1-2 weeks after sowing: Water once or twice daily (morning and evening) to keep the soil moist and prevent drought from preventing germination.
- 2 weeks to maturity (approximately 1-3 months): Water every 2-3 days, allowing the water to penetrate 5-10 cm below the soil level to encourage deep rooting.
- After maturity: Water once or twice monthly (more frequently during dry seasons). Avoid standing water. (If any standing water is present, clean it up promptly to prevent root rot.)
5.2. Pruning and Fertilization
- Prune the grass seedlings for the first time when they reach 8-10 cm in height, leaving a height of 5-6 cm after pruning. (Avoid pruning too short and damaging the roots.)
- After the lawn is established, mow the lawn every 1-2 months, maintaining a height of 4-5 cm. Apply slow-release fertilizer (nitrogen, phosphorus, and potassium in a 1:1:1 ratio) every 3 months to replenish nutrients.
5.3. Load Control
- During the maintenance period (first 3 months): Heavy vehicles (such as trucks and excavators) are prohibited. Family cars should drive at a low speed (≤ 5 km/h) to avoid crushing the grass seedlings and the grass grids.
- After normal use: Avoid parking vehicles in the same location for extended periods (more than 24 hours) to prevent partial deformation of the grass grids and soil compaction.
6. Key Construction Considerations (Pot Avoidance Guide)
- 6.1. The foundation must be compacted: Inadequate compaction of the soil and gravel layers is the primary cause of subsequent settlement. It is recommended to use a roller rather than manual compaction (especially for large areas).
- 6.2. Drainage slope is crucial: A 1%-2% slope quickly drains rainwater. If the slope is insufficient, accumulated water will soak the grass grid (accelerating aging) and the grass seedlings (causing root rot).
- 6.3. Choose appropriate grass species: Prefer cool-season grasses (such as tall fescue) in northern China, and warm-season grasses (such as bermudagrass) in southern China to avoid seedling death due to incorrect selection.
- 6.4. Avoid exposing grass grids to direct sunlight: Before installation, store grass grids in a cool, shady location to prevent deformation caused by direct sunlight. If the temperature exceeds 35°C during installation, allow for larger expansion joints (3-5mm).
- 6.5. The leveling layer determines flatness: This is a key point of precision control during construction, and meticulous attention must be paid.
- 6.6. Soil Selection: Avoid using pure clay, as it has poor water permeability and is prone to compaction. Sandy loam is the best choice. 6.7. Boundary Securing: Use curbstones or concrete to effectively secure the boundaries of the grass grid to prevent lateral movement.
7. Common Problems and Solutions
7.1 Why is the lawn not growing well?
Answer: Poor soil, insufficient watering, or grass seed that is shade-intolerant or poorly resistant to trampling. In this case, we should improve the soil, fertilize and water regularly, and select appropriate grass seed.
7.2 What should I do if the grass grid area is sinking?
Answer: This is caused by insufficient compaction of the foundation or subgrade. The sinking area should be excavated promptly, and the subgrade and foundation should be recompacted before laying.
7.3 Will the grass be crushed to death after parking?
Answer: Yes, this is normal. However, as long as the grass seed is selected correctly, the lawn will regenerate after the vehicle is removed. Our advice is to regularly rotate parking spaces and maintain them regularly.
7.4 What is the load capacity of the grass grid? Can it be used as a fire escape?
Answer: With a compressive strength of 200kPa-2000kPa, most parking spaces are suitable for private cars. Grass grids come in a wide variety of models and qualities, and some are even designed with fire escape routes.
7.5 What is the service life of grass grids?
Answer: High-quality HDPE grass grids, with normal use and maintenance, can last over 10 years, or even 15 years or more.
7.6 Can grass grids be used for slope protection?
Answer: Absolutely, but using grass grids for slope protection is more expensive.
8. Conclusion
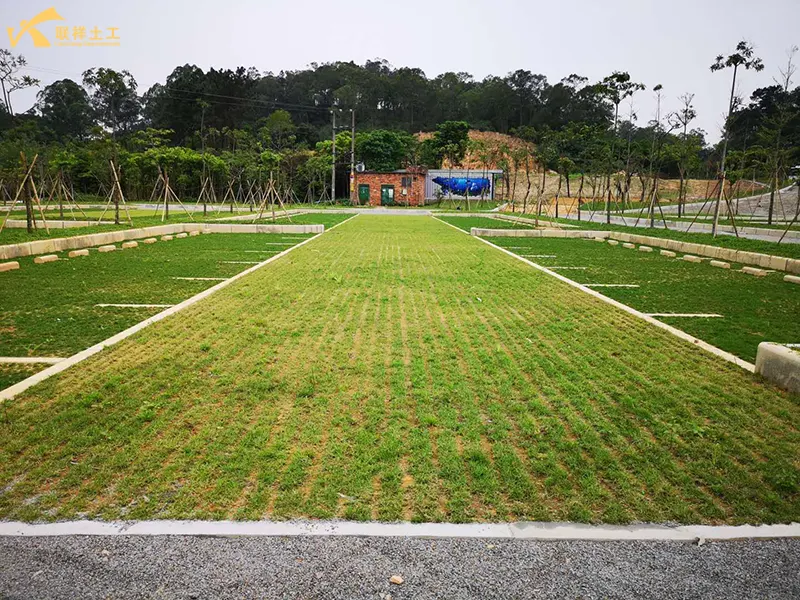
Through the above construction steps, grass grids in parking spaces can achieve both parking and greening. They meet the load-bearing requirements of family cars (lightweight grass grids can support loads of 5-10 tons) while increasing the greening ratio of the site, meeting the requirements for ecological parking lot construction. The key to grass grid construction in parking spaces lies in "a solid foundation + precise leveling + reliable drainage." Only by strictly following the construction steps and paying attention to details can you create a green parking space that is both environmentally friendly and durable. If you do not have professional construction experience, it is recommended to hire a professional construction team to operate the operation.
Written by
SHANDONG LIANXIANG ENGINEERING MATERIALS CO., LTD.
Kyle Fan
WhatsApp:+86 139 5480 7766
Email:admin@lianxiangcn.com
Contact
-
WhatsApp
-
E-MailE-Mail:admin@lianxiangcn.com
-
WeChatWeChat:18554180188


