Analysis of the construction plan for the roof planting system of the community underground garage
With the continuous development of society, the continuous improvement of living standards, and the increasing utilization of residential space, underground garages and rooftop greening have become standard amenities in residential communities. Consequently, garage roof drainage has become a key component of community greening projects. Efforts have been made to improve drainage efficiency, from traditional expanded clay slab drainage to current drainage board systems. Today, we will explain the construction plan for community underground garage rooftop planting systems.
1. Introduction to Basement Rooftop Planting Systems
1.1. Positioning of Underground Garage Planting Platforms:
Due to their large size, underground garages require strict airtightness and waterproofing for both their functional purpose and the durability of their reinforced concrete structures. The thickness of the topsoil layer is often determined by the needs of the plants being planted, minimizing structural loads. This results in a shallow basin-like design. This design has the following characteristics:
- A stable impermeable layer hinders communication with the broader environment.
- Deep-rooted plants have roots that extend horizontally within the basin.
- Deep water accumulation and dryness above lead to a homogenous plant species pattern.
- Therefore, a shallow basin design cannot meet the ecological requirements for diverse plantings!
2.2. Artificial Intervention Measures for Shallow Basins:
Urban residential community green spaces require an ecological environment with diverse plant species. Broadleaved trees offer the best environmental cleansing properties. Therefore, community green spaces should be cultivated with broadleaved trees, shrubs, and perennial herbs. Shallow basins clearly cannot meet these requirements. Therefore, artificial intervention measures—artificial environmental circulation systems—are necessary. The development of modern synthetic material technology has made it easier to create artificial environmental circulation systems for shallow basins. Using drainage boards made from pressed synthetic film to create a drainage layer and polyester non-woven fabric for filtration and soil conservation, these artificial intervention systems are more flexible and lightweight, significantly reducing the impact of shallow basins on planting and effectively improving the planting environment.
The artificial environmental circulation system for shallow basins utilizes special materials to establish a rapid water and air circulation system.
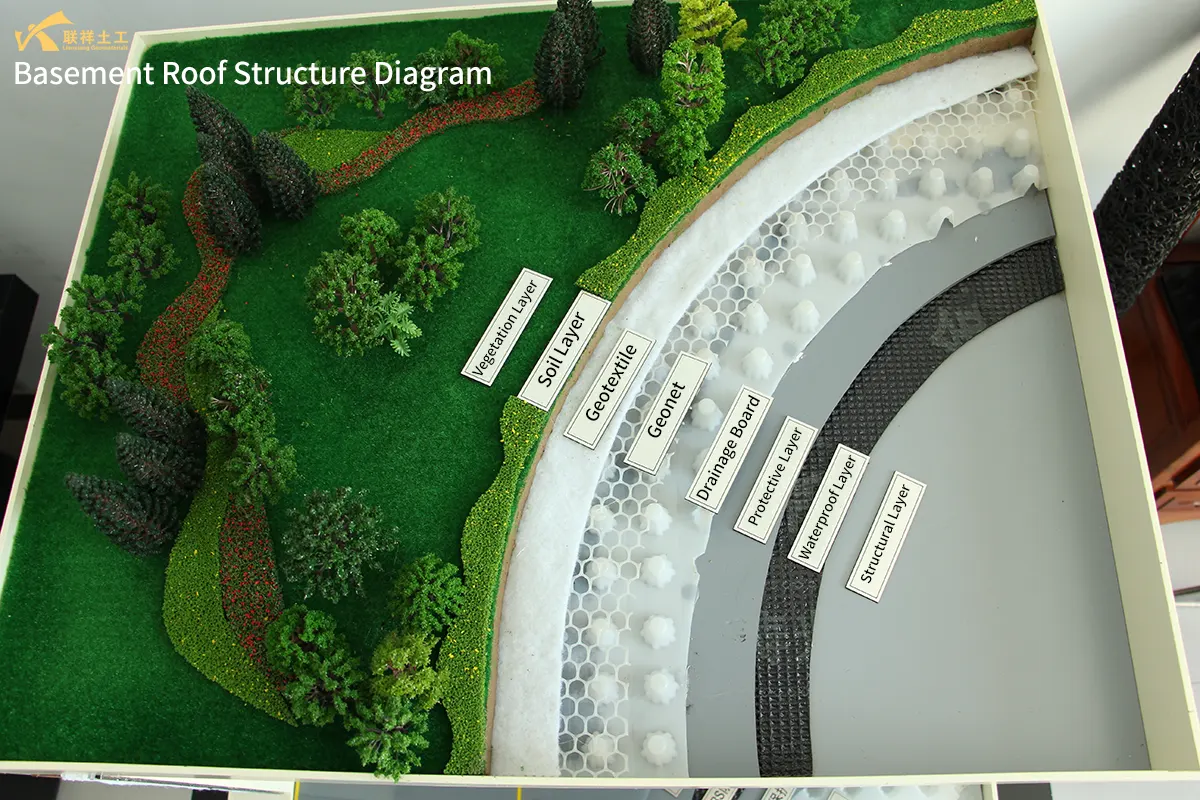
2. Schematic Diagram of the Basement Roof Planting System Structure
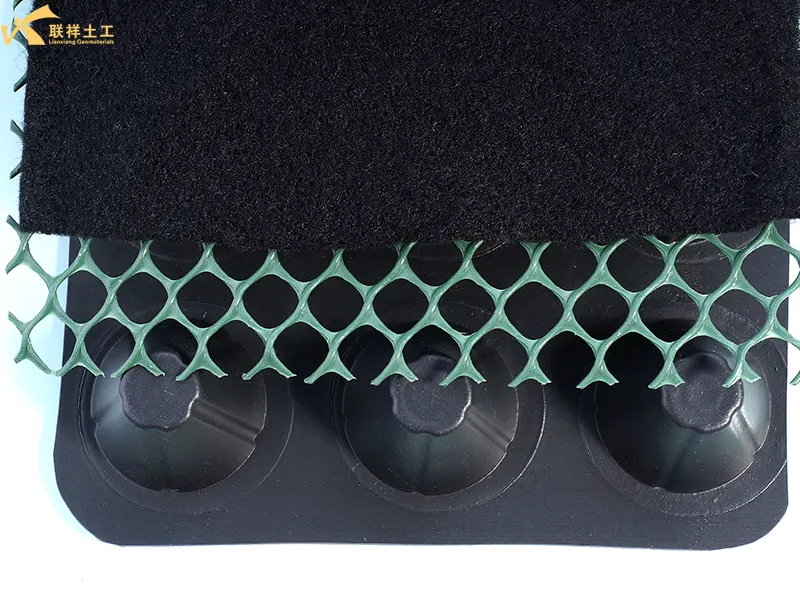
The basement roof planting system structure primarily includes: a vegetation layer, a soil layer, a geotextile, a geonet, a dimpled plastic drain sheet, a protective layer (leveling layer), SBS waterproofing membrane, and a structural layer. The schematic diagram is shown below.
3. Construction Preparation
3.1. Technical Preparation
- Familiarize yourself with the construction drawings and understand the design intent, especially the drainage direction, slope, and collection well location.
- Provide detailed technical and safety briefings to construction personnel.
- Determine the construction process, schedule, and inspection standards.
3.2. Material Preparation
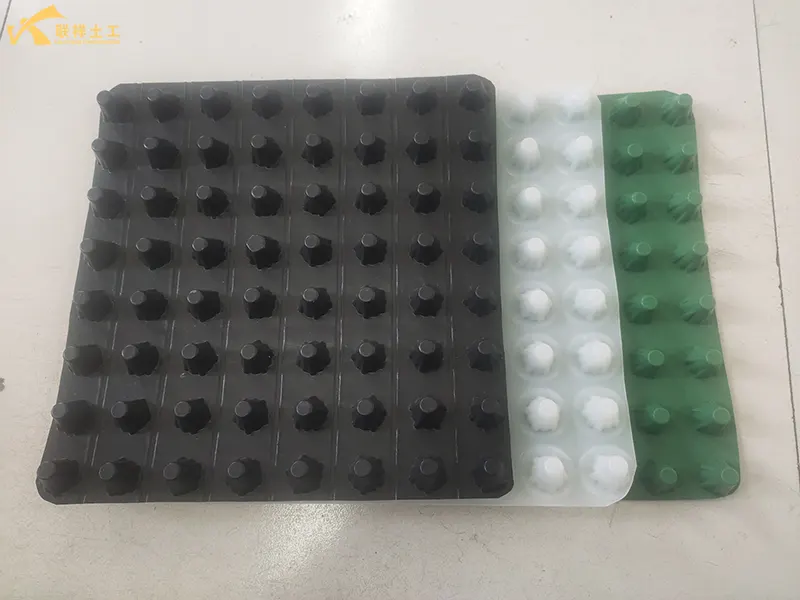
- Dimpled Plastic Drain Sheet: Use high-strength, pressure-resistant, and corrosion-resistant HDPE (high-density polyethylene) fin-type Dimpled Plastic Drain Sheet. Specifications and models must meet design requirements and possess sufficient compressive strength (typically ≥250 kPa for a 1.5-meter cover, ≥350 kPa for a 2.0-meter cover).
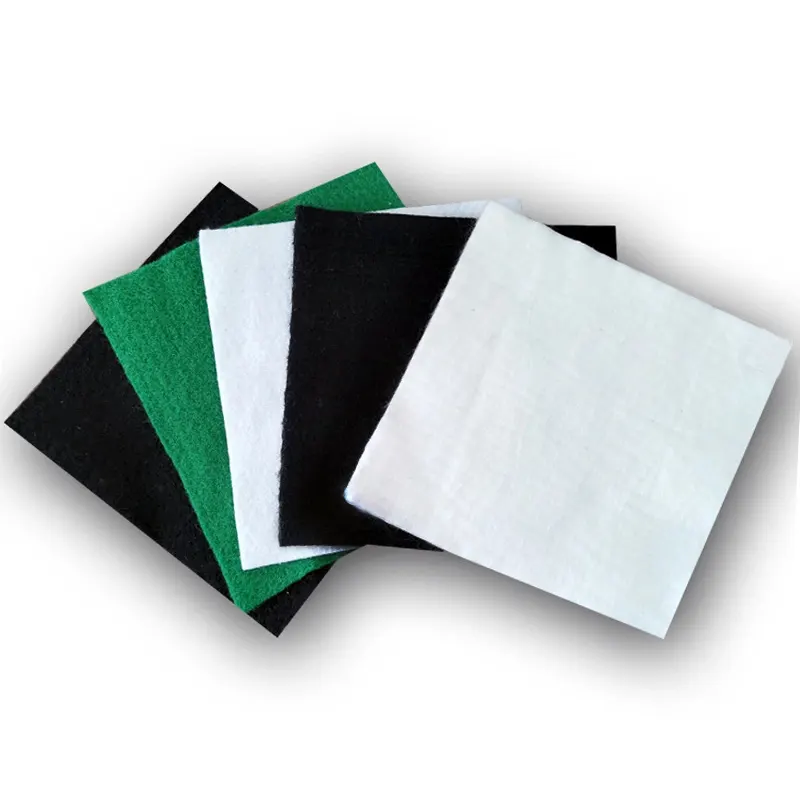
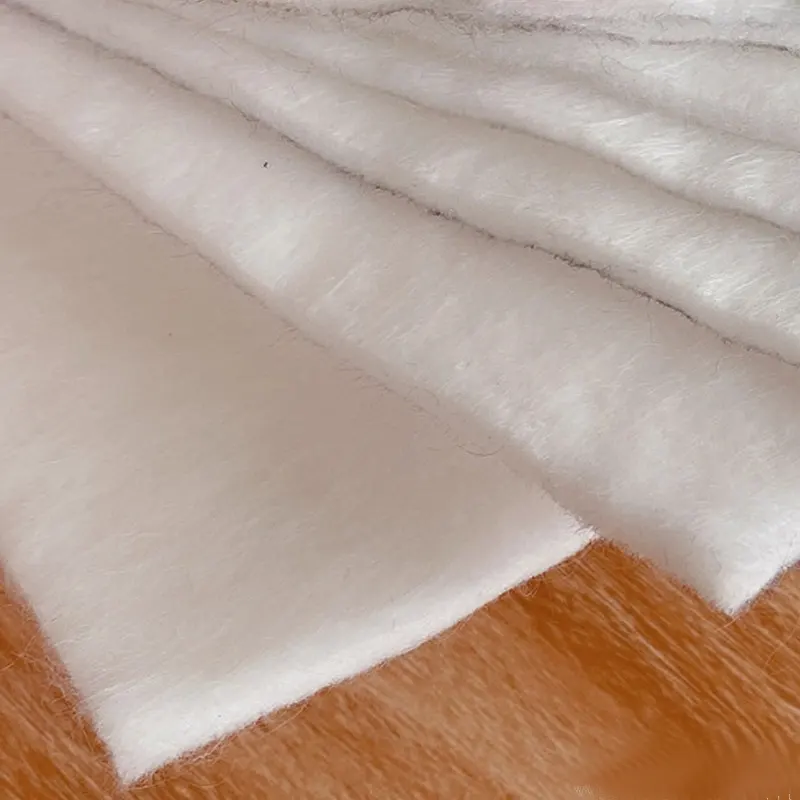
- Geotextile: Use a 200-300 g/m2 polyester non-woven geotextile as a filter layer to prevent soil particles from clogging the drainage board.
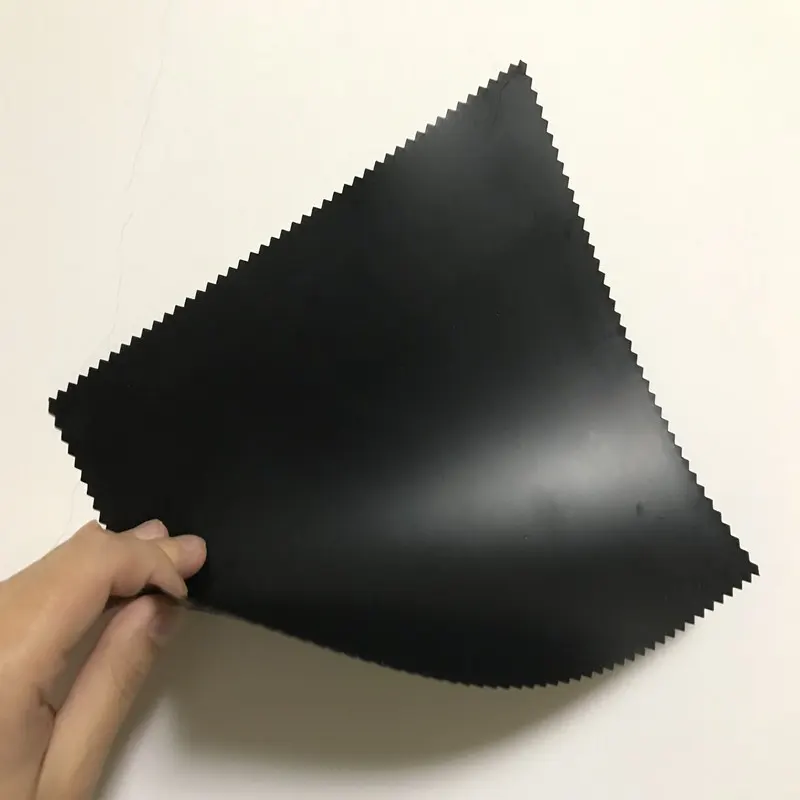
- Waterproofing Materials: Prepare according to the design drawings (such as SBS-modified asphalt waterproofing membrane, polymer waterproofing membrane, etc.).
- Other Materials: Cement, sand (for slope adjustment), adhesive, plastic spacers, special tape, etc.
3.3. Equipment Preparation
- Transport vehicle, level, tape measure, and ink line (for laying out lines).
- High-powered vacuum cleaner and broom (for cleaning the basement).
- Cutting tools (utility knife, scissors), roller, pressure roller, and blowtorch (if using hot-melt waterproofing membrane).
- Simple lifting equipment (if necessary).
3.4. Working Conditions
- The basement roof structural concrete has been poured, reaching the design strength, and passed inspection.
- The structural surface is flat and solid, free of visible water, sharp protrusions (such as rebar heads), cracks, and oil stains.
- Detailed joints such as internal and external corners and pipe roots have been rounded or sloped at 45° as required by the design.
- Safety precautions and temporary power supply have been established.
4. Main Construction Methods and Technical Points
4.1. Basement Preparation
- Thoroughly clean the basement surface of dust, debris, and oil stains.
- Repair holes, cracks, and depressions in the basement with cement mortar.
- Grind or chisel away any protruding material from the base layer to ensure a smooth surface.
- Before construction, the base layer should be dry or free of visible water marks.
4.2. Waterproofing Layer Construction
- Construction must strictly adhere to design requirements and applicable waterproofing material specifications.
- Rolled waterproofing: Ensure the base layer is dry, the roll material is laid in the correct direction, and the overlap width meets specifications (generally ≥80mm on the long side and ≥100mm on the short side). Heat-fused or bonded adhesive must be securely in place, with no hollows or warping.
- Membrane waterproofing: Apply in separate coats, allowing the previous coat to dry before applying the next coat. Ensure uniform coating thickness and no gaps.
- Pay special attention to additional reinforcement layers at corners, pipe bases, and post-cast joints.
4.3. Slope Construction
- Construction must adhere to the drainage slope (generally no less than 2%) and slope direction (towards the drainage ditch or sump) specified in the design drawings.
- Use cement mortar or fine stone concrete as the grade course. Use a scraper to smooth the surface along the mortar cake or ribs, then smooth it with a wooden trowel.
- Cure until sufficient strength is achieved. The surface should be flat, firm, and free of sanding or peeling.
4.4. Drain Board Laying
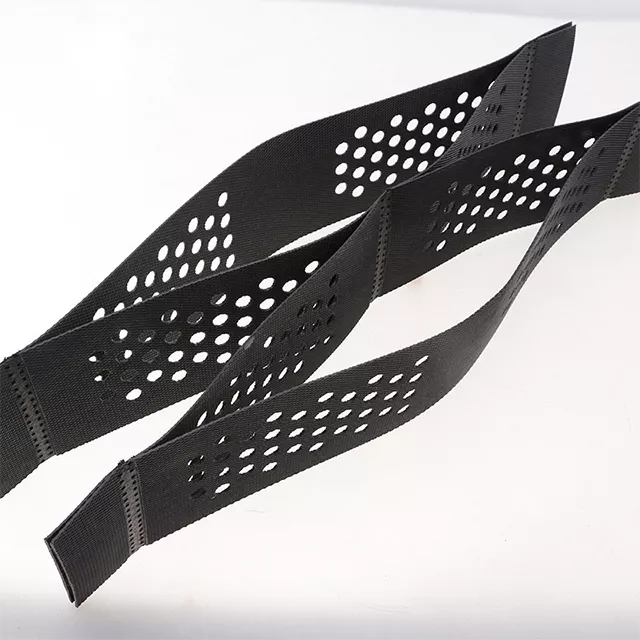
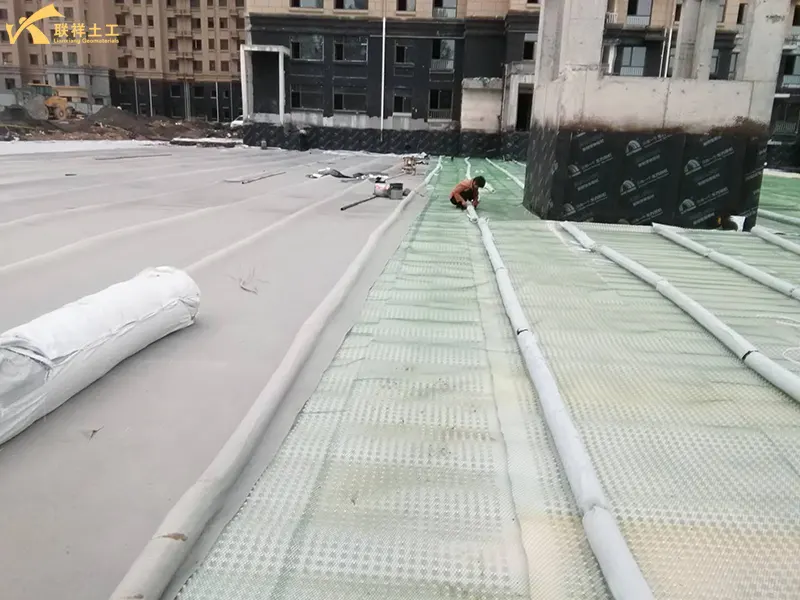
- Laying Direction: The convex surface of the drain board faces upward, and the flat surface faces downward, so that the convex surface forms a drainage channel with the base layer. The plastic drain board should be laid loosely and naturally in the planned location.
- Laying Order: Lay from low to high, i.e., from the drainage convergence point (such as the gutter) outward. Drain boards can be laid in a uniform direction, either vertically or horizontally.
- Overlapping: Drain boards have inherent overlapping edges; simply align and snap them together.
- Flushing: If there is no edge groove, the boards should be aligned, with an overlap width of at least 100mm. Use special tape or gaskets to secure and prevent misalignment.
- Fixing: At the edges of the roof, in areas with steep slopes, or in windy areas, use plastic spacers and steel nails for appropriate point-fixing to prevent shifting. For areas requiring temporary fixation due to positioning or shape changes, double-sided self-adhesive rubber strips can be used for bonding and securing.
- Edge Finishing: At the edges of parapets, drain ditches, and other structures, lift the drainage board upward to a height exceeding the surface of the subsequent cover layer and cover it with geotextile to prevent soil from flowing in. During construction, ensure meticulous workmanship and avoid damaging the underlying flexible waterproofing layer.
4.5. Geonet Laying
- After the drainage board is laid, lay the geonet immediately.
- The geonet, serving as a support layer between the drainage board and the geotextile, should be laid flat, and the pore size of the material should be smaller than the diameter of the drainage board's raised points.
- The geonet, serving as a support, should overlap 150-200mm on both the long and short sides, and the overlaps should be secured with ropes.
- The geonet should be laid over a larger area than the drainage board to prevent geotextile collapse.
4.6. Geotextile Laying
- After the geonet is laid, the geotextile should be laid immediately.
- As a filter layer, the geotextile should be laid flat and wrinkle-free.
- The overlap width between geotextiles should be at least 150mm, and natural overlap or stitching can be used.
- The geotextile laying area should be larger than the drainage board, ensuring complete coverage, especially at the edges.
4.7. Joint Treatment
- Drainage Outlets/Collection Wells: The drainage board and geotextile should be precisely cut and tightly wrapped around the drainage outlet to ensure smooth water flow. Specialized pipe clamps or sealing materials may be used for enhanced securing.
- Column Bases and Pipe Roots: The drainage board and geotextile should be carefully cut and wrapped according to the component shape to ensure a continuous drainage channel.
- Post-cast Joints and Expansion Joints: Additional drainage measures should be provided according to design requirements to ensure smooth drainage in these specific areas.
5. Quality Assurance Measures
5.1. Material Control:
- All incoming materials must have a factory certificate of conformity and a performance test report. Samples must be re-inspected as required and qualified before use.
5.2. Process Control:
- After each process is completed, materials must pass self-inspection, mutual inspection, and specialized inspection before proceeding to the next process.
- Strictly control the slope and flatness of the screed layer.
- Inspect the integrity and thickness of the waterproof layer.
- Inspect the overlap width and securement of the drainage board to ensure there is no damage or looseness.
- Inspect the overlap width and flatness of the geotextile.
5.3. Finished Product Inspection:
- After construction is completed, a local water spray test may be conducted to verify drainage and any localized water accumulation.
6. Safety and Civilized Construction Measures
- 6.1. Smoking is strictly prohibited at the construction site. Any use of open flames requires a fire permit.
- 6.2. Construction workers must wear safety helmets and non-slip shoes.
- 6.3. Materials must be neatly stacked, the site must be cleaned after work, and waste must be properly sorted.
- 6.4. Pay attention to protecting the completed waterproofing and drainage board layers to prevent damage from subsequent steps.
- 6.5. Outdoor work should be suspended during strong winds, rain, or snow.
7. Finished Product Protection
- 7.1. After laying the drainage board and geotextile, backfilling should be carried out as soon as possible to avoid prolonged exposure to the sun.
- 7.2. During backfilling, manual backfilling should be performed initially, and transport vehicles should not drive directly over the drainage board system.
- 7.3. Light machinery may be used for rolling and leveling only when the backfill thickness reaches at least 300mm, but sharp turns and sudden braking should still be avoided.
8. Conclusion:
The core of this plan lies in establishing a "combined waterproofing and drainage" system. The waterproofing layer is the first line of defense, while the drainage board system is the critical "safety net," quickly directing and draining any infiltrating water, significantly reducing the threat posed by hydrostatic pressure to the structure. Strictly implementing all requirements of this plan is crucial for ensuring the long-term safety, dryness, and leak-proofness of the basement ceiling, as well as the growth of plants above it.
9. Related Questions
9.1 What is the service life of a drain board?
A: High-quality high-density polyethylene (HDPE) dimpled plastic drain sheet are designed to last over 50 years, even as long as the building.
9.2 What is the important role of geogrids in basement roof planting systems?
A: Geogrids primarily support the geotextile, preventing it from collapsing.
9.3 Can drain boards provide waterproofing?
A: Drain boards primarily function to drain water and reduce hydrostatic pressure on garage roofs. They cannot be used as a waterproofing material, but they do contribute significantly to waterproofing.
9.4 How thick backfill can a drain board support?
A: Different quality and types of drain boards have different compressive strengths. High-quality drain boards can easily cover up to a height of 1.5 meters.
9.5 Are drain boards used for other purposes besides garage roofs?
A: Drainage boards have a wide range of applications, including basement slab drainage, tunnel drainage systems, road drainage systems, and landfill anti-seepage drainage systems.
9.6 How do I choose the right type of drainage board?
A: First, consult the design drawings. If the drawings don't specify a specific model, consider the specific project conditions, such as cover height, area, and local rainfall. If you have any inquiries, please contact us. Lianxiang Geotech is dedicated to serving you.
Written by
SHANDONG LIANXIANG ENGINEERING MATERIALS CO., LTD.
Kyle Fan
WhatsApp:+86 139 5480 7766
Email:admin@lianxiangcn.com
Contact
-
WhatsApp
-
E-MailE-Mail:admin@lianxiangcn.com
-
WeChatWeChat:18554180188

