Explain the detailed process and precautions for laying geomembrane in fish ponds
The geomembrane installation process for fish ponds is crucial, requiring both technical expertise and extensive experience. Leakage can lead to significant financial and material waste. Today, we'll explain the detailed steps and precautions for geomembrane installation in fish ponds.
Overview of Core Steps
The entire construction process can be summarized into four main stages:
- 1. Foundation Preparation - The most critical step. Without a solid foundation, everything else is in vain.
- 2. Geomembrane Installation - The method and sequence must be rigorous.
- 3. Welding and Inspection - The core technology, ensuring a tight seal.
- 4. Backfill Protection - The final protection, extending the lifespan.
Stage 1: Pre-Construction Preparation
1. Material Preparation:
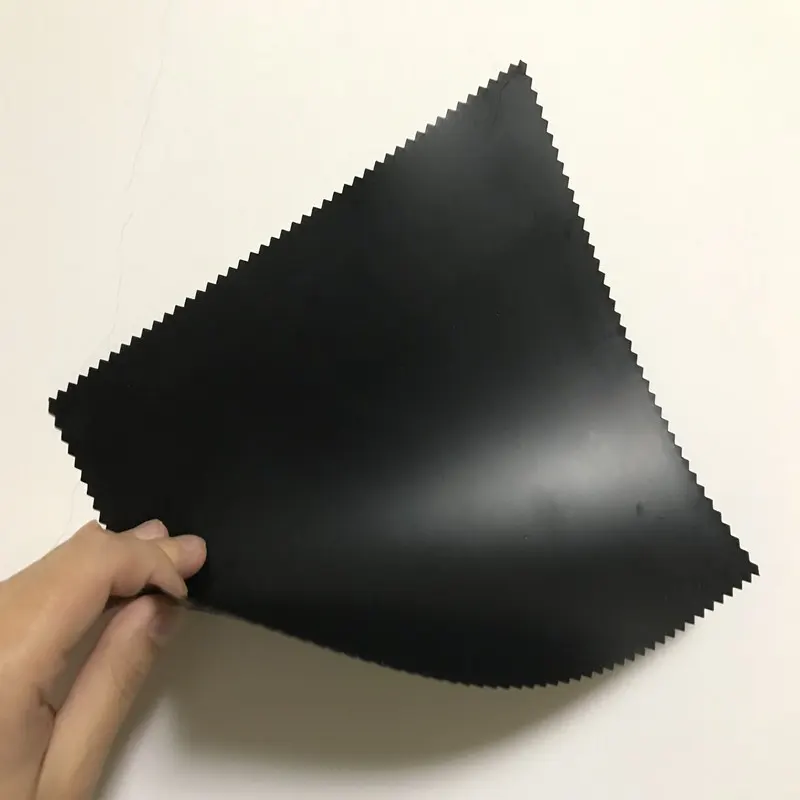
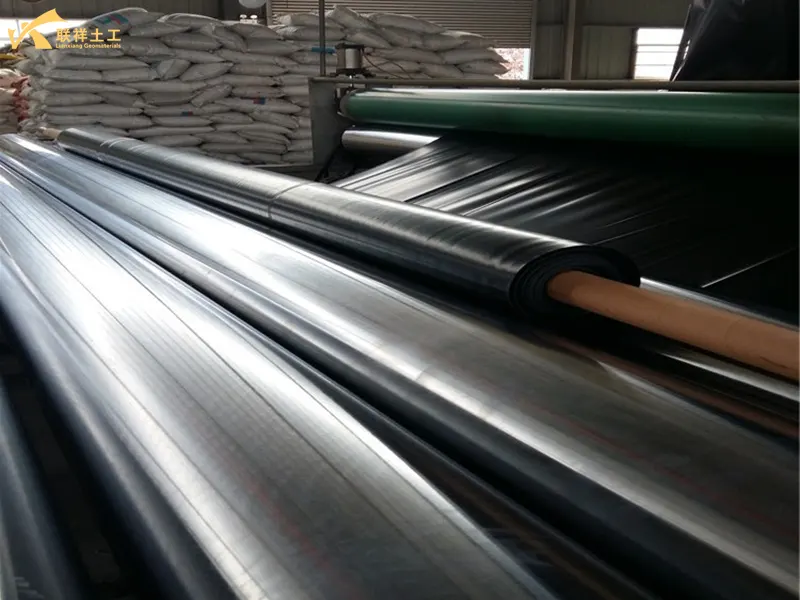
- Geomembrane: Choose HDPE geomembrane that meets national standards (typically with a thickness between 0.5mm and 1.0mm). For fish farming, we recommend using virgin material, which is non-toxic and environmentally friendly. Calculate the area and allow for overlap width and loss.
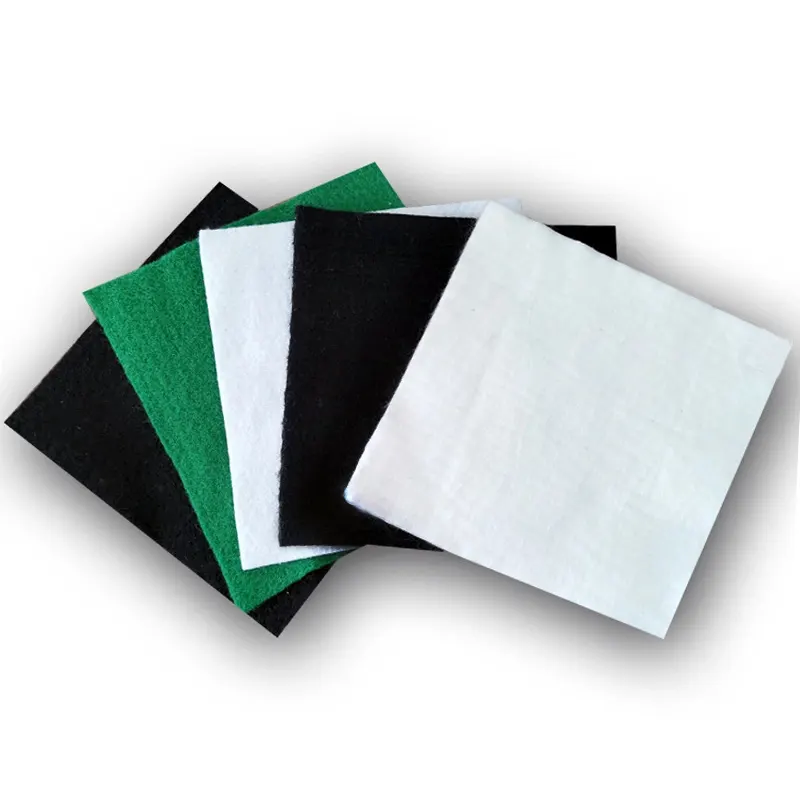
- Supplementary Materials: Bentonite Cement Blanket (GCL, for use in poor foundations), Geotextile (either fabric or membrane, or both as a protective layer).
2. Tool Preparation:
- Welding Equipment: Dual-track hot melt welder (for major welds), extrusion welding torch (for repairs and complex areas), hot air gun.
- Testing Equipment: Air pressure test probe, vacuum test chamber.
- Other Tools: Cutter, roller, sandbags, cleaning tools, gloves, safety shoes, etc.
3. Weather Selection:
- Ideal Weather: Sunny, calm or light breeze, temperatures between 5-40°C.
- Avoid: Rainy days, strong winds (wind speed > level 4), high temperatures (may cause membrane expansion), or severe cold (below 0°C, causing membrane brittleness).
Stage 2: Foundation Preparation - The Most Critical Step
"The quality of the foundation determines the success of the project." The goal of this step is to provide a flat, solid, and sharp-edged base.
1. Clearing and Excavation:
- Remove all sharp debris, such as tree roots, rocks, and rubble, from the pond area. Excavate and level the pond slopes and bottom according to the design drawings.
2. Compaction and Leveling:
- Pond Bottom: Use a roller or tamping machine to compact the bottom foundation to a density of ≥93% to prevent future settlement and damage to the geomembrane. The bottom should be flat, without bumps or visible cracks.
- Slope: The slope should not be too steep (usually no steeper than 1:1.5). The slope should be compacted and leveled to prevent landslides.
3. Inspection and Acceptance:
- After preparing the base layer, conduct a manual inspection to ensure that there are no sharp objects (such as stones or tree root tips) and that soil clods can be broken down by hand. If necessary, lay a 5-10cm layer of fine sand or soft soil as an additional protective layer.
Stage 3: Geomembrane Installation
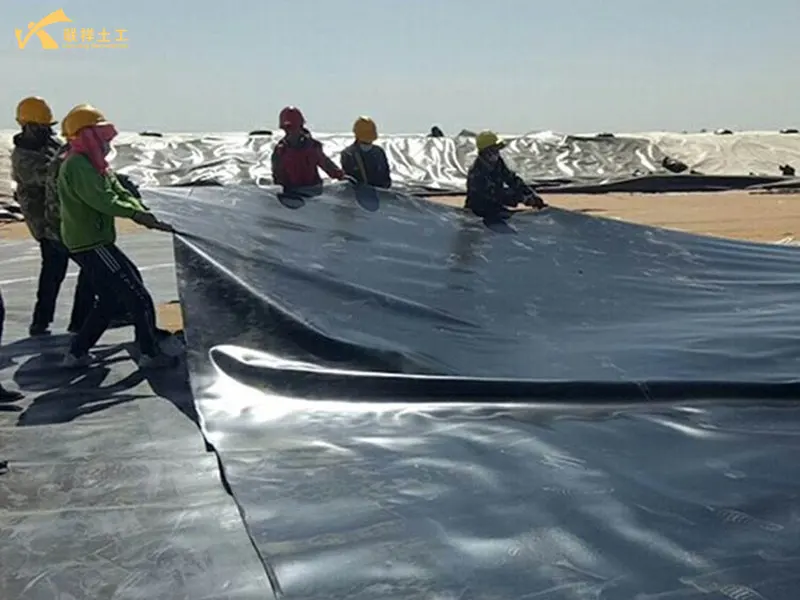
1. Installation Order:
- Generally, follow the principle of "slope first, then bottom." Lay the membrane from the highest point of the pond to the lowest.
2. Laying Method:
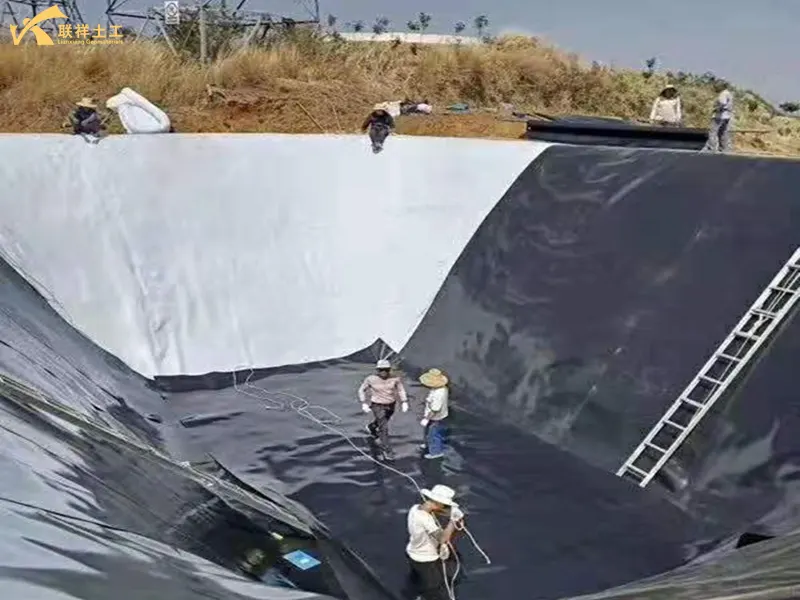
- Lift the HDPE membrane roll mechanically or manually to the desired location.
- When unrolling, roll the roll gently manually to avoid pulling it.
- When laying, allow approximately 1.5% margin to accommodate local deformation of the foundation and thermal expansion and contraction caused by temperature fluctuations. Avoid excessive tension.
- Allow a 10-15cm overlap between membranes for welding.
3. Anchoring:
- Dig an anchoring trench around the top of the pond (usually 50cm deep x 50cm wide). Place the membrane end in the trench and backfill with soil or concrete, compacting it to secure it.
Stage 4: Welding and Inspection - Core Technology
1. Weld Preparation:
- Before welding, thoroughly clean the overlap area with a dry cloth to ensure it is free of moisture, dust, oil, and debris.
2. Test Welding:
- Before welding, a small piece of film must be tested. Adjust the temperature, speed, and pressure of the welder according to the temperature and humidity of the day until the best results are achieved.
3. Production Welding:
- Double-track hot melt welding: Used for long, straight welds. The welder produces two parallel weld tracks with a cavity in the middle. This is the most important and reliable welding method.
- Extrusion welding gun: Used for repairs, corner welds, T-shaped welds, and repairs to complex areas, such as damaged areas.
4. Weld Inspection:
Every weld must undergo rigorous testing.
- Air Pressure Test (for double-track welding): Insert a test needle into the cavity in the center of the double-track weld and inflate to 0.2 MPa. Hold for 3-5 minutes. A pressure drop of no more than 0.02 MPa is considered acceptable. This is the primary testing method.
- Vacuum Test (for extrusion welding): Apply soapy water to the weld, cover with a vacuum hood, and evacuate to a pressure of at least -0.02 MPa. Observe for bubbles. A pass is obtained if no bubbles are present.
- Destructive Testing: Samples are collected on-site and sent to the laboratory for tear testing. Typically, one sample is collected every 1000m of weld.
Stage 5: Backfill and Protection
Exposed HDPE membrane degrades under UV exposure and is easily punctured by foreign objects, so protection is essential.
1. Laying a Protective Layer:
- Pond Bottom: Lay a 30cm thick layer of soft soil (clay is preferred) or fine sand on the membrane as a protective layer. Alternatively, lay a non-woven geotextile before backfilling.
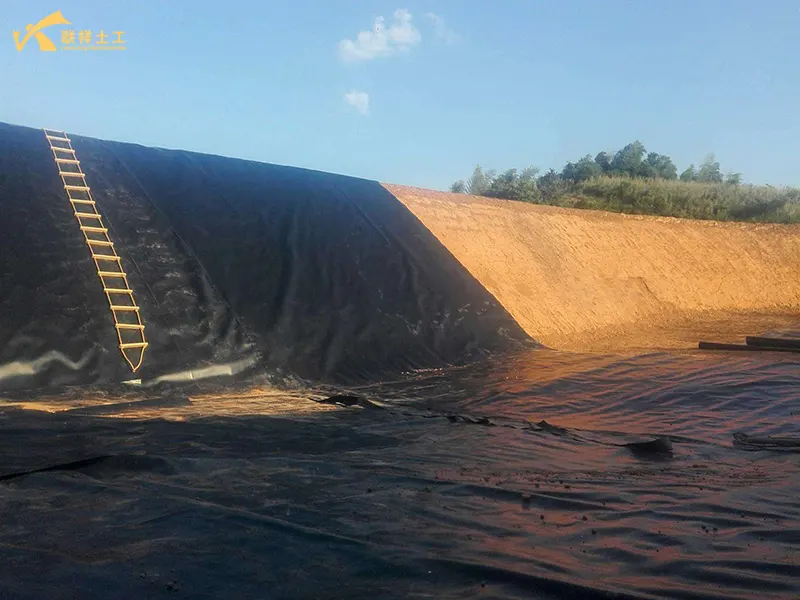
- Slopes: Backfilling slopes is difficult. Precast concrete slabs, wire gabions, or backfilling with planting soil and grass can be used to protect the slopes and prevent soil erosion and membrane exposure.
2. Water Injection:
- After the protective layer is laid, water can be slowly injected into the pond. The water injection process should be smooth to avoid direct impact on the membrane protective layer.
Important Notes
- Safety First: Construction workers must wear soft-soled shoes. Smoking and throwing cigarette butts on the membrane are strictly prohibited. Finished Product Protection: During the laying process, vehicles or other mechanical equipment are strictly prohibited from driving directly over the membrane.
- Timely Welding: Laying and welding should be performed simultaneously. Welding should be performed immediately after paving a section to prevent the membrane from being blown away by strong winds or contaminating it.
- Detailed Treatment: The connection between the membrane and pipes such as inlets and outlets and drain pipes is a weak link in waterproofing. It must be carefully sealed using extrusion welding and reinforced using a dedicated HDPE pipe wrapper.
Following the above steps and operating by an experienced construction team can ensure the quality and service life of your fish pond geomembrane project. I hope the above information will be helpful to you in your future fish pond construction.
Written by
SHANDONG LIANXIANG ENGINEERING MATERIALS CO., LTD.
Editor Fan
www.lianxiangcn.com
WhatsApp:+86 139 5480 7766
Email:admin@lianxiangcn.com
Contact
-
WhatsApp
-
E-MailE-Mail:admin@lianxiangcn.com
-
WeChatWeChat:18554180188

