Detailed Remedial Measures for Leakage of the Geomembrane in Lotus Pond Aquaculture
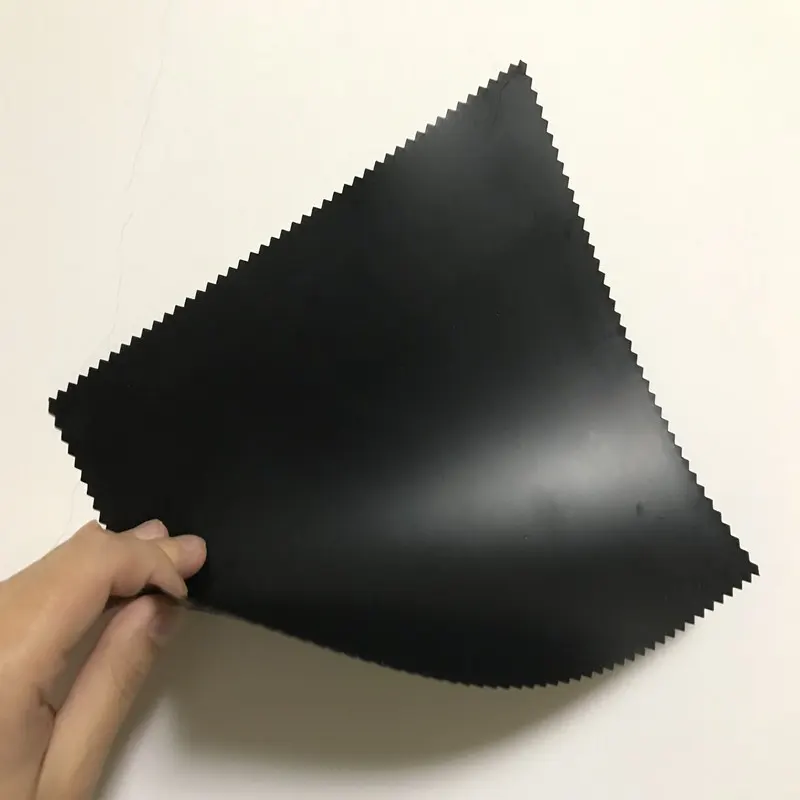
With the development of technology, geomembranes are now the primary seepage prevention material used in the construction of lotus ponds. This is mainly because geomembranes offer significant seepage prevention, are easy to construct, and are low in cost, making them popular among lotus pond farmers. However, the most troublesome issue when using geomembranes in lotus ponds is localized leakage. This is very difficult to resolve for those without professional knowledge. We must first quickly locate the leakage point and then take remedial measures. Today, Lianxiang Geotechnical will explain in detail the remedial measures for leakage in geomembranes used in lotus ponds.
1. Accurate Diagnosis and Assessment
Upon discovering leakage, we must immediately take corresponding measures. First, accurately locate the leakage point, then assess the degree of leakage, and formulate an appropriate remedial plan to avoid blind construction.
1.1. Drainage and Exposure:
- Local Drainage: If the leakage is not obvious or the area is small, local drainage can be attempted, lowering the water level below the suspected leakage area to expose the geomembrane.
- Complete Drainage: If the leakage is severe or multiple areas are suspected of leakage, it is recommended to completely drain the pond water. This process, while time-consuming and labor-intensive, allows for the most thorough inspection and repair.
1.2. Locating Leaks:
- Visual Inspection: Carefully examine the exposed geomembrane. Common leak points include: welded or bonded areas (the weakest points), punctures or scratches caused by sharp objects (stones, branches, tools), ground subsidence causing membrane tears, and potential damage from animals like rodents.
- Water Injection/Air Blowing Method (for small holes): For areas suspected of having small holes, spray soapy water, then blow air under the membrane or inject water onto the membrane. The presence of bubbles or water pooling indicates a leak.
- Electrical Detection Method (Professional Method): For large ponds or hard-to-find leaks, hire professionals to use equipment such as the dual-electrode method for precise detection.
1.3. Assessing the Degree of Damage:
- Point Leaks: Isolated holes or cracks.
- Linear Leaks: Tears or weld breaks.
- Patchy Leakage: Large-area aging or material failure (repair is not very effective in this case; replacement should be considered).
Accurate assessment is crucial. Many people think this is a waste of time, but this is a misconception. As the saying goes, "sharpening the axe doesn't delay the work," things must be done systematically and efficiently. Hopefully, this explanation will be helpful.
2. Preparing Materials and Tools
Materials and tools used in the repair work. The materials and quantities used must be prepared based on the assessment report and remedial plan we prepared earlier.
Core Repair Materials:
- Special Repair Tape: Material compatible with the geomembrane (usually HDPE or LLDPE), with pressure-sensitive adhesive on the back, suitable for small damages and joint reinforcement. Choose a size with sufficient width.
- Patch of the Same Material: Material cut from the new geomembrane, the size should be at least 15-20 cm larger than the edge of the damage.
- Special Welding Agent/KS Hot Melt Adhesive: If it is a weldable material such as HDPE, a special plastic welding gun and welding rods are required. For materials such as PVC, use dedicated KS (welding) adhesive.
Tools:
- Cleaning Tools: Stiff-bristled brush, high-pressure water gun (or hose), clean cloth.
- Sanding Tools: Coarse sandpaper or angle grinder with wire brush/sandpaper discs.
- Cutting Tools: Scissors, utility knife.
- Pressing Tools: Rubber mallet or roller.
- Auxiliary Tools: Hair dryer (for drying and preheating), gloves, marker.
3. Detailed Repair Procedures
The repair procedure must be rigorous and scientific to ensure no secondary repairs are needed. The basic principles to follow are: Cleaning is fundamental, drying is crucial, and compaction is essential.
3.1. Use dedicated repair tape (suitable for point-like and small-area linear damage)
- Clean Surface: Thoroughly remove dirt, grime, algae, and water stains from the damaged area and surrounding area with a stiff-bristled brush and clean water. A small amount of detergent can be used if necessary, but it must be thoroughly rinsed off and no residue left.
- Dry the surface: After wiping with a dry cloth, use a hairdryer (hot setting) to completely dry the repair area, ensuring there is no moisture. Moisture is the biggest enemy of tape adhesion.
- Roughen the surface (optional but recommended): For glossy films such as HDPE, lightly sand the repair area with sandpaper to increase surface roughness, which significantly improves adhesion.
- Cut the tape: Cut a piece of repair tape large enough to completely cover the damage area and extend at least 10-15 cm beyond the edges.
- Apply and press firmly: Peel off the protective film on the back of the tape. Align the center of the tape with the damage area and slowly apply it from the center outwards, avoiding air bubbles. Use a rubber mallet or roller to firmly and evenly roll the entire repair area, especially the edges, ensuring the tape adheres completely to the film.
- Check the edges: Ensure all edges are firmly pressed and not lifted.
3.2. Welding repair
Use a patch of the same material + welding/KS glue (suitable for larger damage, cracked seams, or more durable repairs).
- Cleaning and drying: Same as Option 1, but with stricter requirements.
- Cutting the Patch: Cut a round or oval patch (avoiding sharp corners, as they are prone to lifting). The patch should be at least 15-20 cm larger than the damaged edge. Round off the four corners of the patch.
- Preparing the Adhesive Surface: Thoroughly sand the damaged area and the adhesive surface of the patch to remove the oxide layer and increase the surface area.
- Clean Dust: Remove all plastic dust generated during sanding with a dry cloth or hair dryer.
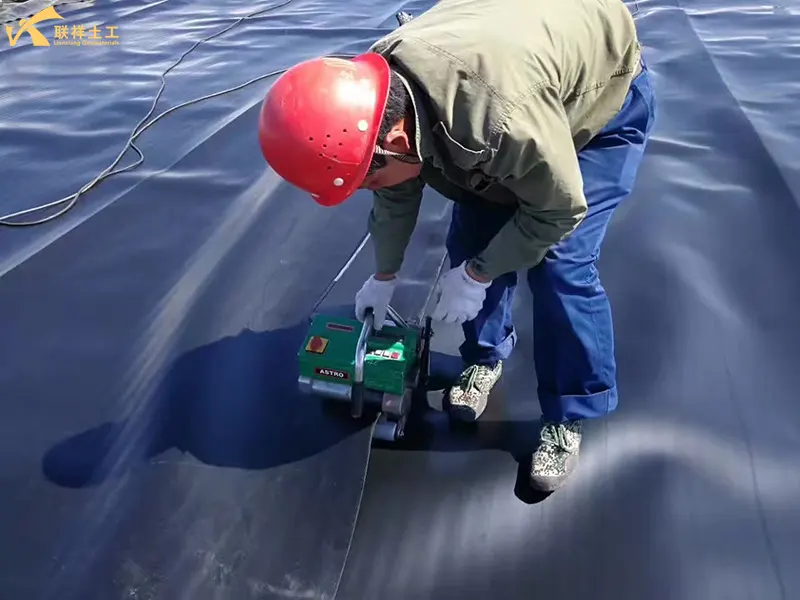
- Applying Glue/Welding: If using KS glue, apply the glue evenly to the sanded patch surface and the membrane surface according to the instructions. Wait a moment (depending on the glue requirements, allow it to dry slightly or apply directly), then align and attach the patch. If using welding, use a plastic welding gun and the same type of welding rod to weld the patch to the membrane around its edges. This requires certain technical skills and is recommended to be performed by professionals to ensure the weld is continuous, uniform, and strong.
- Compaction: Immediately use a rubber mallet or roller to roll from the center outwards, squeezing out excess air and adhesive, and maintain pressure for a period of time.
- Curing: Allow sufficient curing/cooling time according to the requirements of the KS adhesive used or the welding process. Avoid contact with water or movement during this period.
4. Post-Repair Verification and Prevention
4.1. Verification of Repair Effectiveness:
- Water Injection Test: After the repair is completed, do not immediately inject a large amount of water. Perform a localized water injection first to observe for any signs of leakage at the repair site.
- Slow Water Injection: After confirming there are no problems, begin slowly injecting water into the pool, continuously observing the repair area and the water level changes during the injection process.
- Marking Location: Mark the location of the repair point on the pool bank with wooden stakes or spray paint for future inspection and maintenance.
4.2. Long-Term Preventive Measures:
- Improve the Subbase: Ensure there is a sufficiently thick layer of soft soil or sand under the membrane, and remove all sharp stones and hard objects.
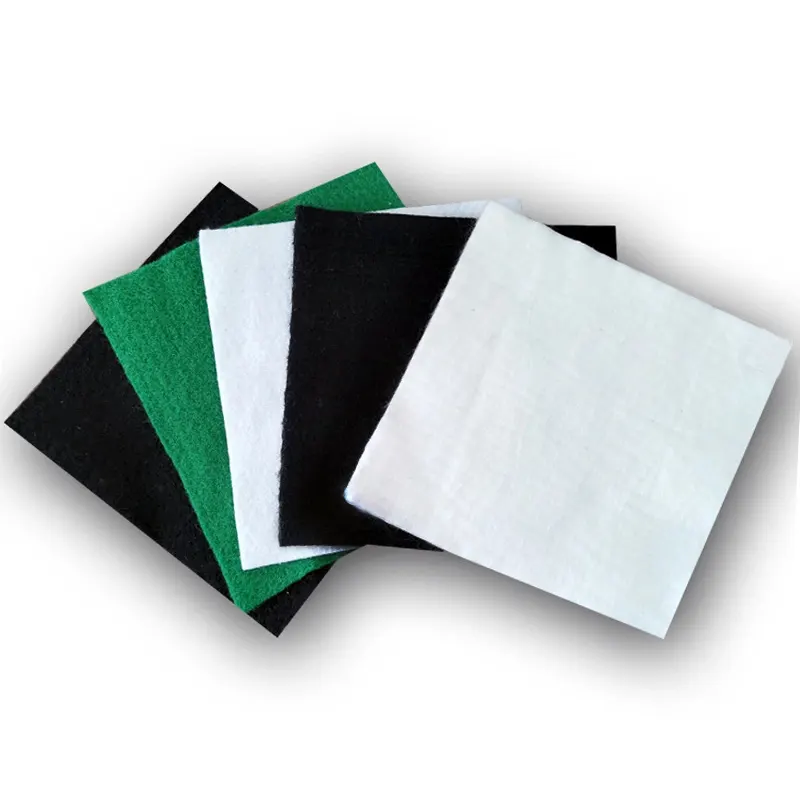
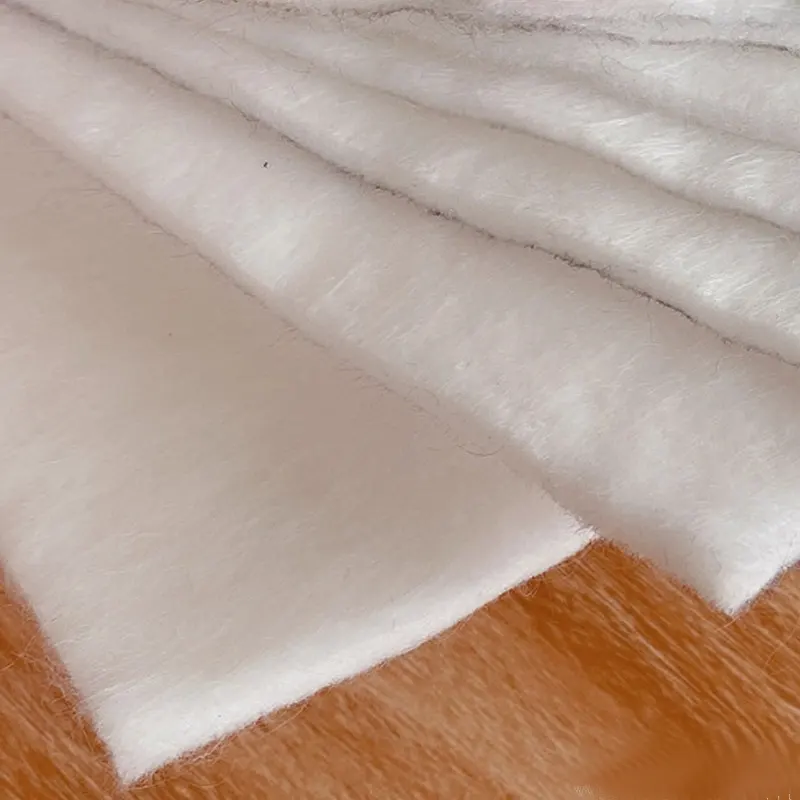
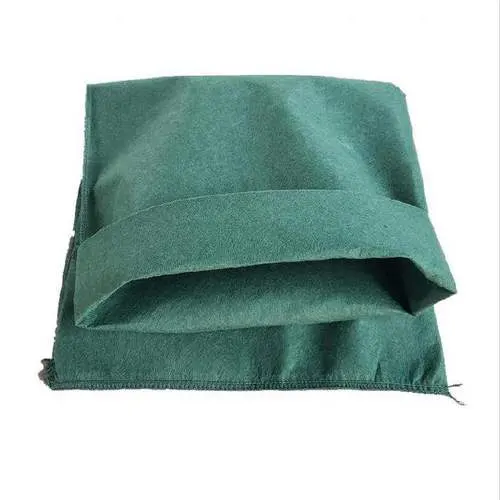
- Protective Layer: Lay a layer of non-woven geotextile (300g/㎡ or higher recommended) on the geomembrane as a protective layer before backfilling with planting soil. This effectively prevents mechanical damage and root puncture.
- Standardized Construction: Ensure the quality of joint welding during initial laying and have it done by professionals.
- Daily Management: Avoid using sharp tools in the pond; prevent large animals from entering; regularly inspect the pond bottom and slopes, and address any potential risks promptly.
5. Benefits of Using Geomembranes in Lotus Pond Aquaculture
5.1. Water and Fertilizer Conservation, Significantly Reducing Production Costs
- Preventing Water Leakage: Traditional mud ponds suffer from severe leakage, requiring frequent water replenishment. After laying the geomembrane, water loss to deeper soil layers is almost completely eliminated, achieving a water saving rate of over 50%, making it particularly suitable for water-scarce areas.
- Preventing Fertilizer Loss: Water and fertilizer are interdependent. The geomembrane effectively locks fertilizer within the pond, preventing nutrients from seeping into the ground with the water, greatly improving fertilizer utilization and saving on topdressing costs and dosage.
5.2. Increased Yield and Quality
- Heat and Fertilizer Retention, Promoting Growth: The geomembrane provides some insulation, keeping the pond water temperature relatively high in early spring and late autumn, extending the lotus root's growing season. Simultaneously, the fertile pond mud is not lost, creating a more superior and stable growing environment for the lotus root, thus effectively increasing yield per unit area.
- Smooth Skin and Good Color: The geomembrane provides a smooth interface, preventing the lotus root from penetrating hard bottom soil during growth. Therefore, the nodes are longer, the skin is smooth, the color is clean, and the commercial value is high.
- High Harvesting Efficiency: When harvesting, only some water needs to be drained; the lotus root can be easily washed out manually or with a high-pressure water gun without damaging it. Compared to digging in hard mud, efficiency is increased several times, greatly saving labor costs and time.
5.3. Convenient Management, Effective Control of Weeds and Pests
- Isolation of Pests and Diseases: The geomembrane isolates the pond water from the bottom soil, effectively blocking the damage to lotus roots caused by pre-existing pathogens and insect eggs (such as root-eating leaf beetles), reducing pesticide use and promoting the production of green food.
- Inhibition of Weed Growth: The geomembrane, laid on the pond bottom, isolates the soil needed for weed growth, thus greatly inhibiting the growth of submerged plants and emergent weeds, preventing competition for nutrients between weeds and lotus roots.
5.4. Significant Economic Benefits and High Return on Investment
- Although there is an initial investment: Laying the geomembrane requires a one-time purchase of materials and labor costs.
- However, the long-term benefits are substantial: Savings in water, electricity (pumping), fertilizer, pesticides, and labor costs typically allow the investment to be recovered within 1-2 planting seasons. Subsequent increases in yield and quality, along with continuously reduced management costs, result in pure profit.
5.5. Flexible Land Use, Protecting Arable Land
- Construction on Non-Agricultural Land: Lotus ponds can be constructed on sandy land, saline-alkali land, wasteland, and other land unsuitable for traditional agriculture by laying impermeable membranes, greatly expanding the scope of land use.
- Protecting Arable Land Quality: It avoids problems such as soil erosion and salinization caused by long-term lotus root cultivation, which is beneficial to protecting the quality of basic farmland.
6. Acceptance Steps for Impermeable Membrane Materials for Lotus Pond Aquaculture
Many cases of leakage are caused by defects in the impermeable membrane materials used in lotus pond aquaculture. Therefore, we must be extremely careful during the inspection. Below are the basic acceptance steps after the goods arrive at the construction site.
6.1. Document Verification:
- Quality Assurance Certificate: Require the supplier to provide a quality assurance certificate for the product.
- Factory Inspection Report: Check whether its physical and mechanical properties (such as thickness, tensile strength, tear strength, puncture resistance, etc.) meet the contract and national/industry standards (such as GB/T 17643).
- Certificate of Conformity: Confirm that it is a qualified product.
- Delivery Note: Verify that the product name, specifications, and quantity match the order.
6.2. Appearance Inspection:
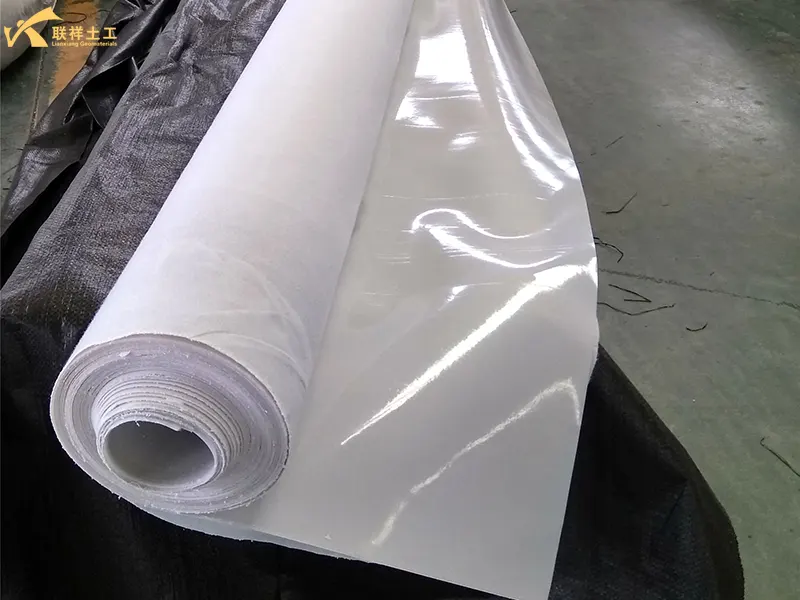
- Surface: Inspect the membrane roll surface for flatness, uniformity, absence of holes, bubbles, cracks, and crystal precipitation (signs of aging).
- Edges: Observe the membrane roll sides for neatness, absence of tears or severe wavy edges.
- Labels: Confirm that the label information on the membrane roll (e.g., material, thickness, width, length, production date, batch number) is clear and accurate.
6.3. Dimension and Thickness Measurement:
- Thickness: Use an ultrasonic thickness gauge to randomly select multiple points on the membrane roll (e.g., beginning, middle, and end, measuring three points on each side) for measurement, ensuring the average thickness is not less than the contract requirement (e.g., 0.5mm), and the thinnest point is not less than 90% of the nominal thickness.
- Length and Width: Measure with a tape measure to ensure dimensions meet design requirements for easy on-site installation and usage calculation.
7. Related Questions
7.1 When repairing the geomembrane in a lotus pond, is it necessary to drain all the water?
A: No, it's not necessary. Only after identifying the leakage point should water be drained until it reaches that point.
7.2 What are the standards for accepting membrane welds?
A: Welds should be flat, straight, without wrinkles, burns, or incomplete welds. The center line of the weld should coincide with the joint line, and the maximum deviation should be less than the specified value.
7.3 What is the overlap width during membrane welding?
A: The overlap width for welding is typically required to be 10±2 cm. Multiple random checks with a measuring tape are necessary to ensure uniform width.
7.4 How to handle joint leakage?
A: Cut off 5-10 cm of the original membrane at the joint, clean it thoroughly, realign it, and weld it using a hot-melt welding machine (temperature controlled at 200-230℃).
8. Summary
Leakage in lotus ponds is extremely dangerous, especially during dry seasons. If not detected promptly, it can easily lead to the death of aquatic life. Therefore, timely detection and treatment of leakage are crucial, adhering to the following principles: Leakage Detection → Drainage and Location → Damage Assessment → Solution Selection → Thorough Cleaning and Drying → Fine Repair → Full Compaction and Curing → Effective Verification → Enhanced Prevention. For minor damage, using specialized repair tape is a quick and effective method. For large damage and critical areas, welding with homogeneous patches or bonding with KS adhesive is a more reliable and long-term solution. If the leakage area is large or the membrane is severely aged, the most economical and prudent solution may be to completely replace the entire geomembrane. The above are detailed remedial measures for leakage in lotus pond geomembranes, compiled and published by Lianxiang Geotechnical Engineering. We hope this information will be helpful when using geomembranes in lotus ponds in the future.
Written by
SHANDONG LIANXIANG ENGINEERING MATERIALS CO., LTD.
Kyle Fan
WhatsApp:+86 139 5480 7766
Email:admin@lianxiangcn.com
Contact
-
WhatsApp
-
E-MailE-Mail:admin@lianxiangcn.com
-
WeChatWeChat:18554180188

